Joomag made it incredibly easy to collect information from your readers. You can use fully customizable forms in your publications to:
-
convert your leads into subscribers
-
gather any information and feedback from your readers
-
use the collected data towards your readership growth
Note: This feature is available with our Scale and Enterprise plans.
Important: You can use custom forms only on the publication with a disabled subscription. For more information see, Disable collection subscription article.
To create a new form, follow these steps:
-
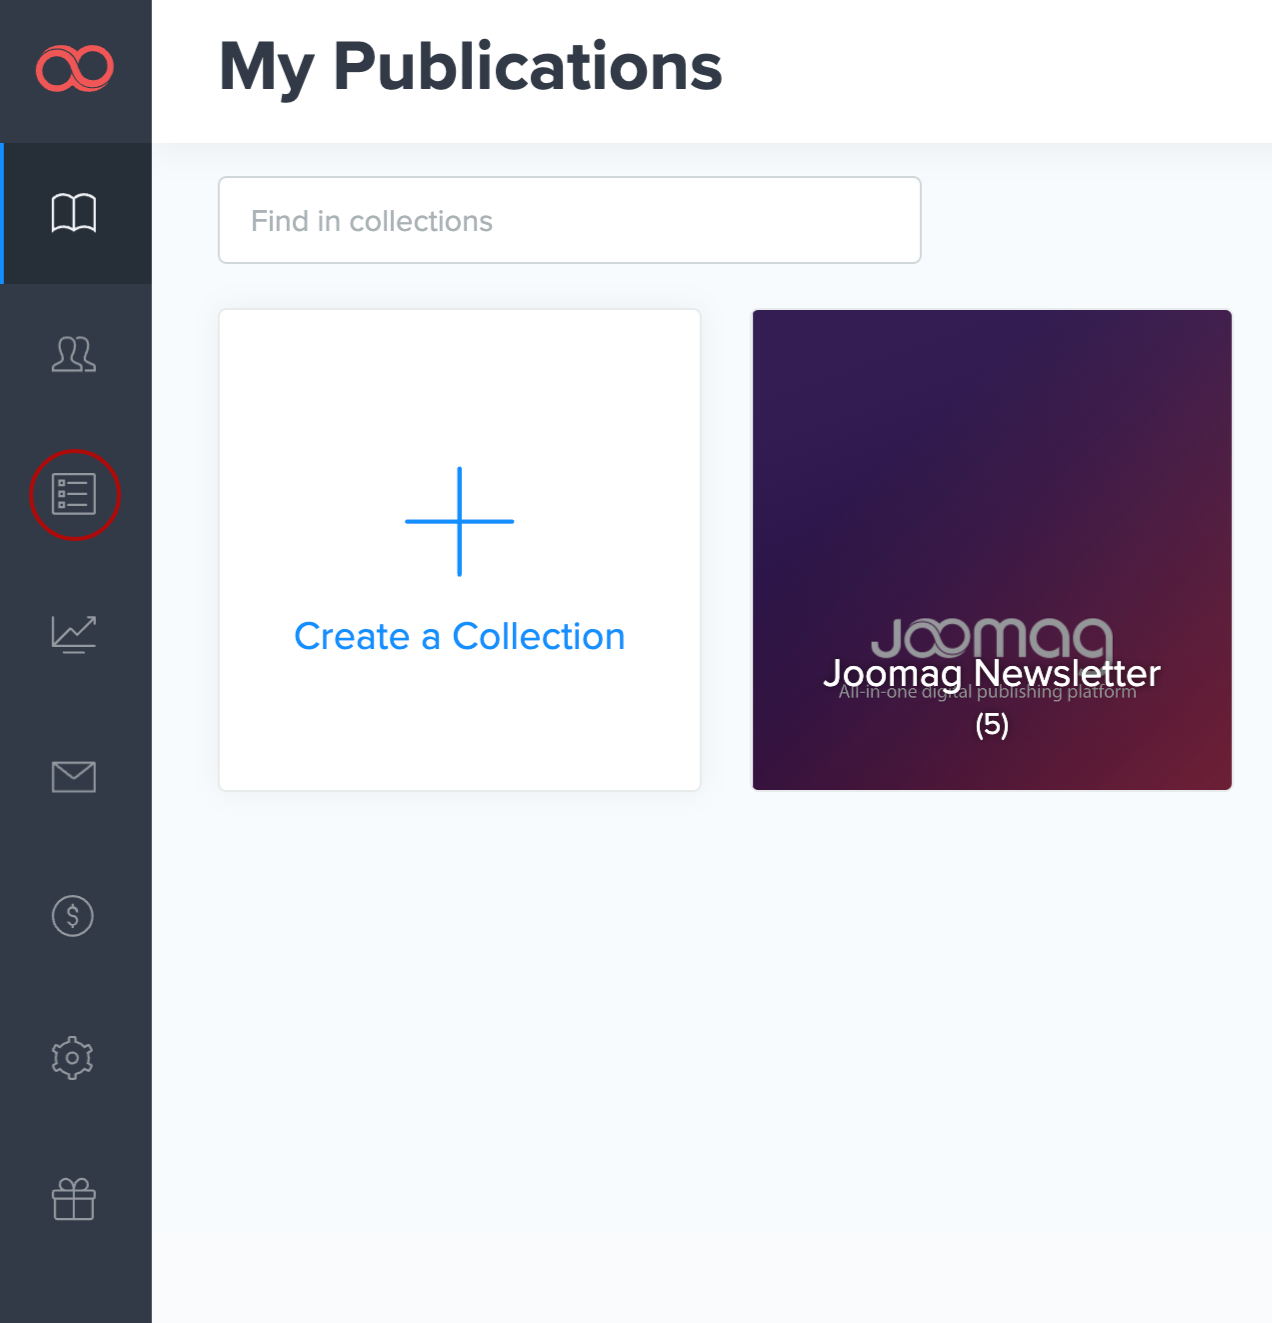
Click the Forms button on the left sidebar.
-
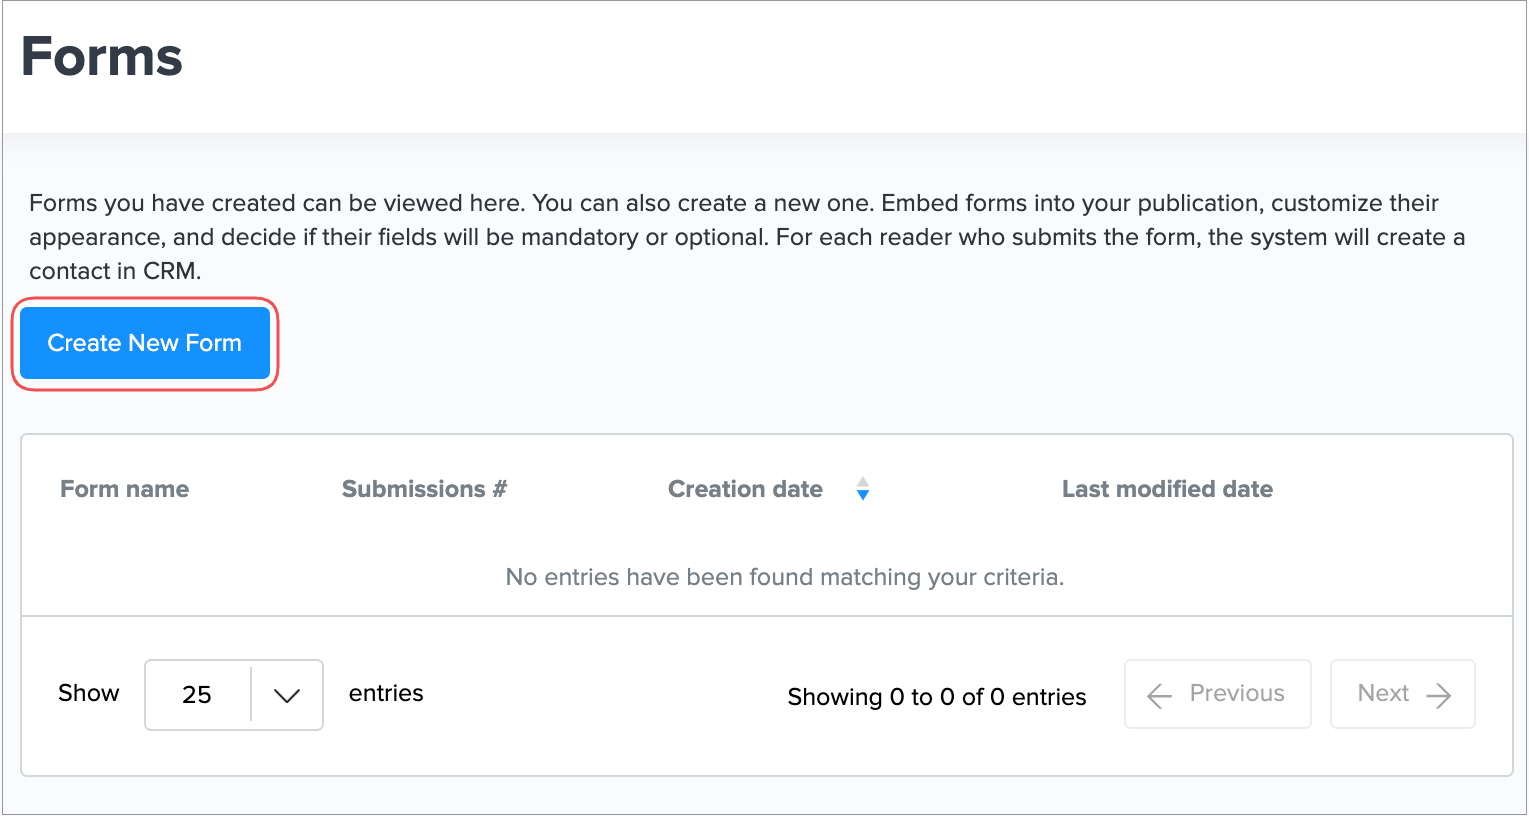
Click the Create New Form button.
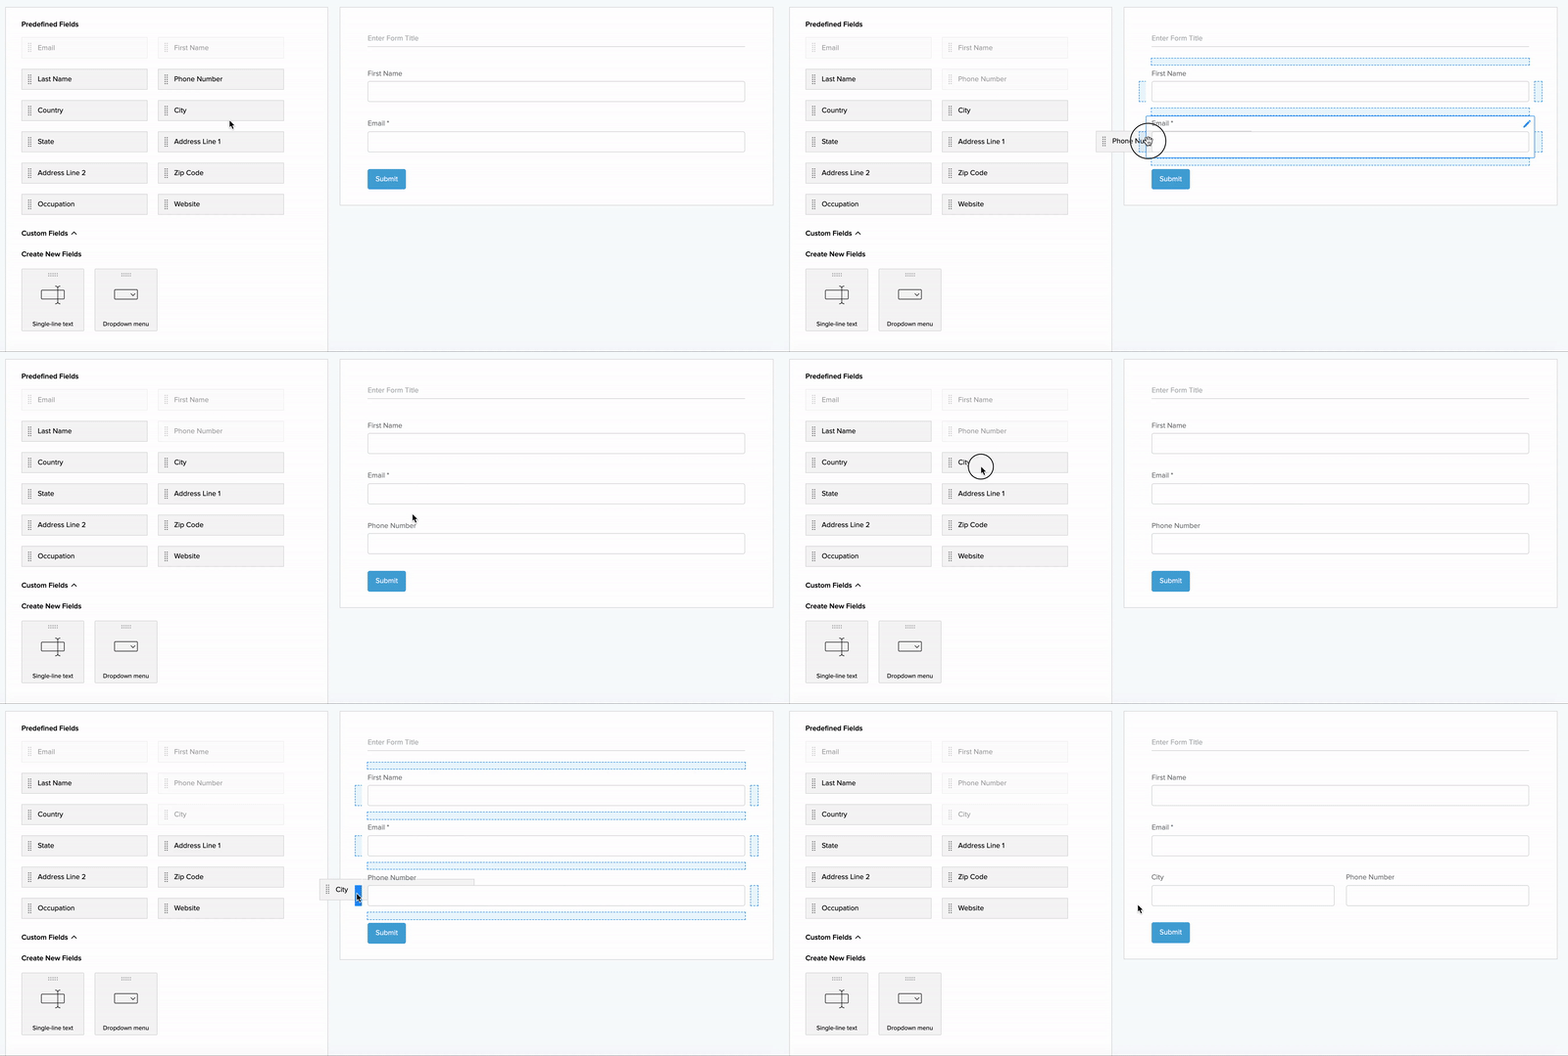
You are redirected to the Form builder which consists of two sections:
Fields: These are customizable content blocks that you'll use in your forms. You can both choose from the existing fields, or create new ones.
Working area: This is the area where you move, edit, and delete fields and see how the form will look.
-
Click on the predefined field to add it to the working area or drag it directly to the place you wish. All the fields that are added to the Working Area change their background to white.
-
If you wish to add a field that is not presented in the Predefined Fields List, you can Create New Fields.
Note: Your newly created custom fields will be available in the Form Builder and you can use them anytime.
-
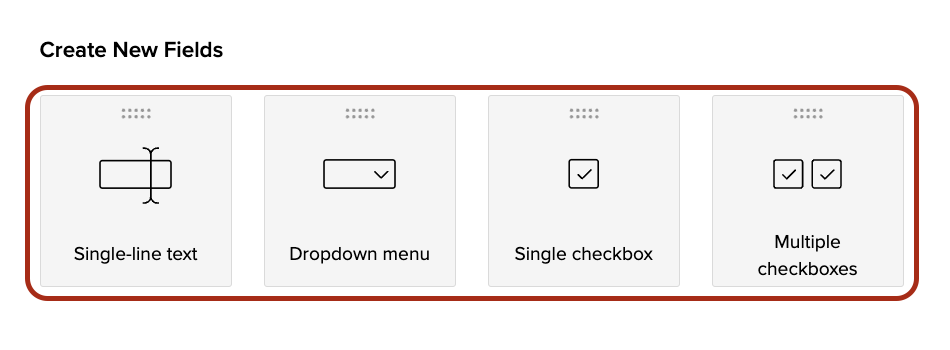
You can create the following field types:
-
Single-line text: the readers may manually type the answer
-
Dropdown menu: the reader needs to choose one of the options offered
-
Single checkbox: the reader needs to check the box with one option offered
-
Multiple checkboxes: the reader readers can check one or multiple options offered
-
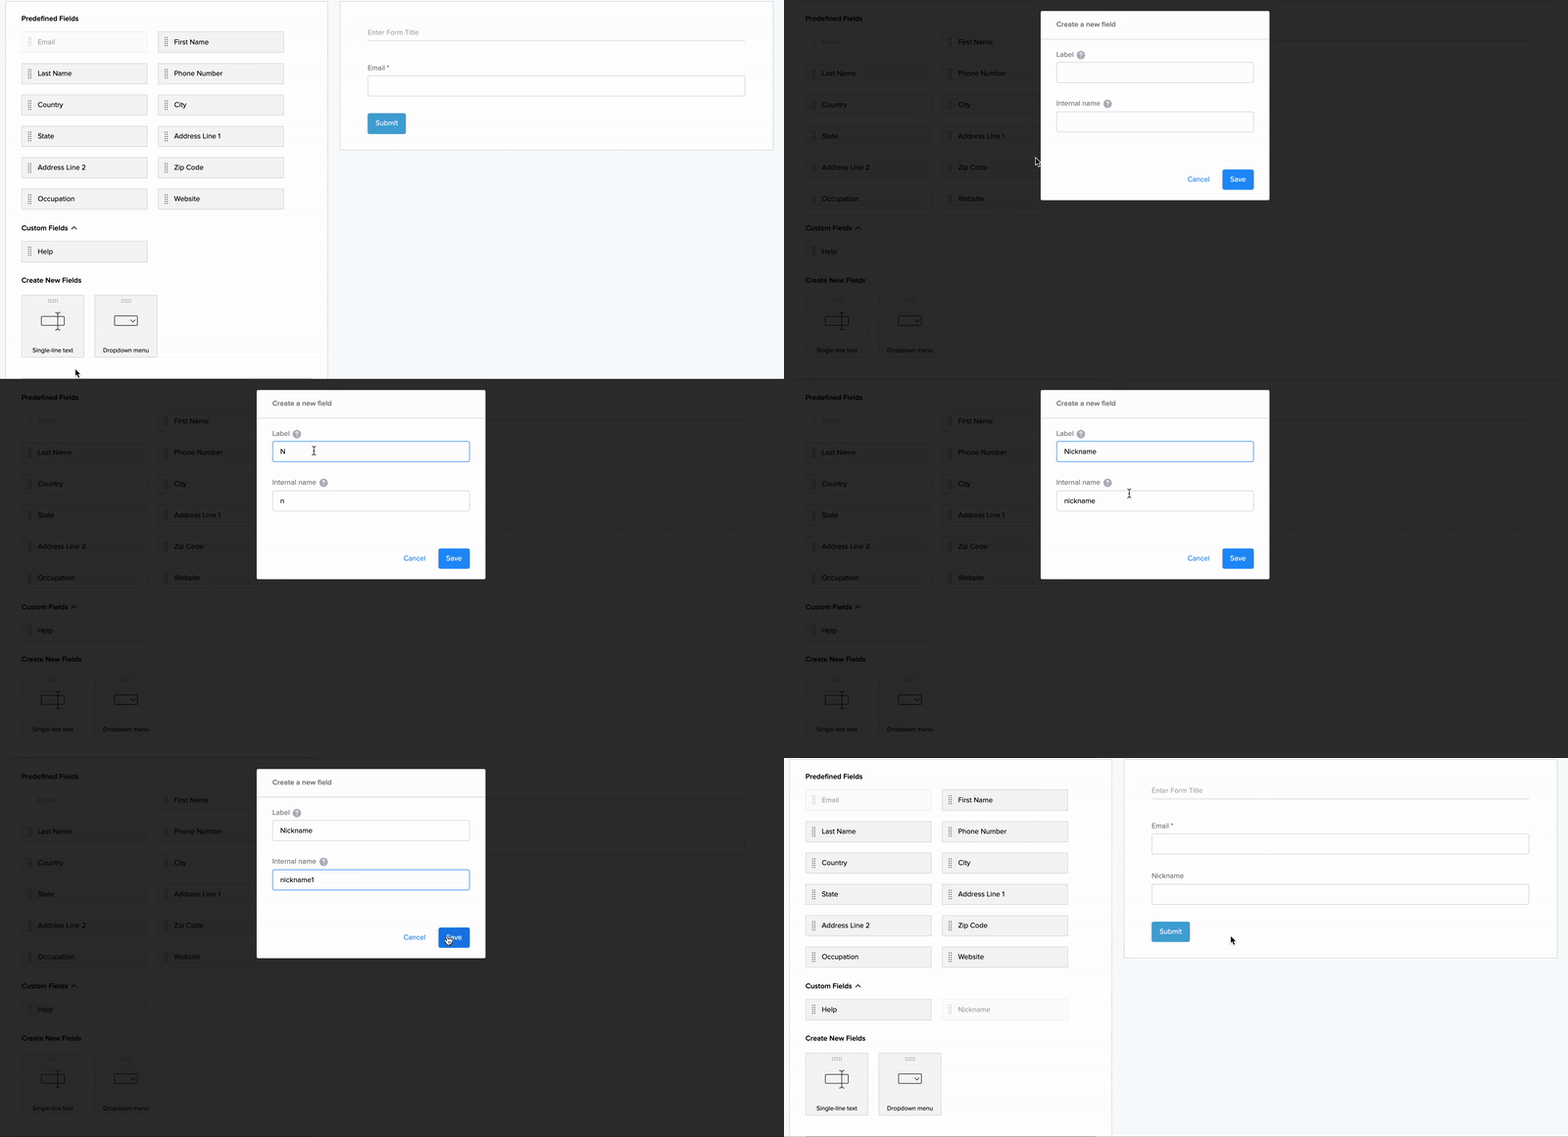
Creating a Single-line text field
-
Enter the field's name in the Label field.
-
Enter an internal name for the field or use the automatically generated name by the system.
-
Click Save to create the field.
Important: Once you create a new field and specify its label a new property is being created in the CRM.
Warning: Internal name must contain only Latin letters, numbers, and underscores.
Important: The internal name should be unique and can't be repeated for other fields. Once saved you can't customize it anymore.
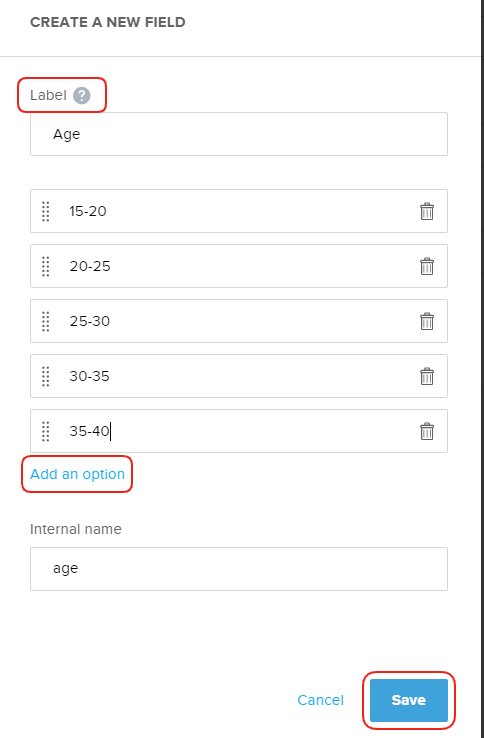
Creating a Dropdown menu
-
Enter the field's name in the Label field.
-
Enter at least two options from which the user should choose. Click Add an option to add more options.
-
Enter an internal name for the field or use the automatically generated name by the system. The internal name is used for work with the API and Integration with other services.
-
Click Save to create the field.
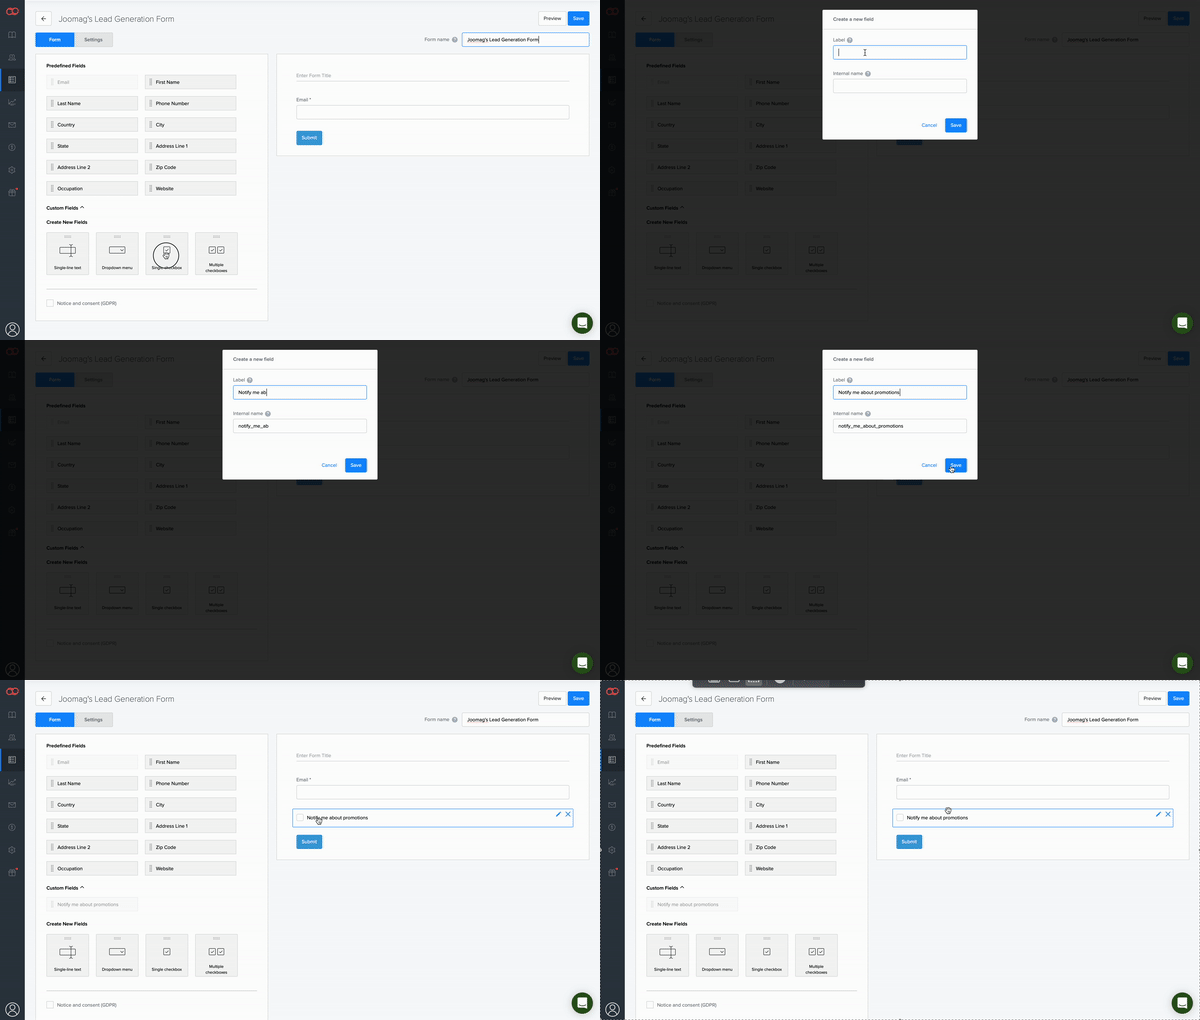
Creating Single checkbox
-
Click the Single Checkbox option
-
Enter the name of the checkbox in the Label field
-
Enter the internal name for the field or leave the name that is automatically generated by the system. The Internal name is used to work with API and Integration with other services
-
Click Save button to create the checkbox
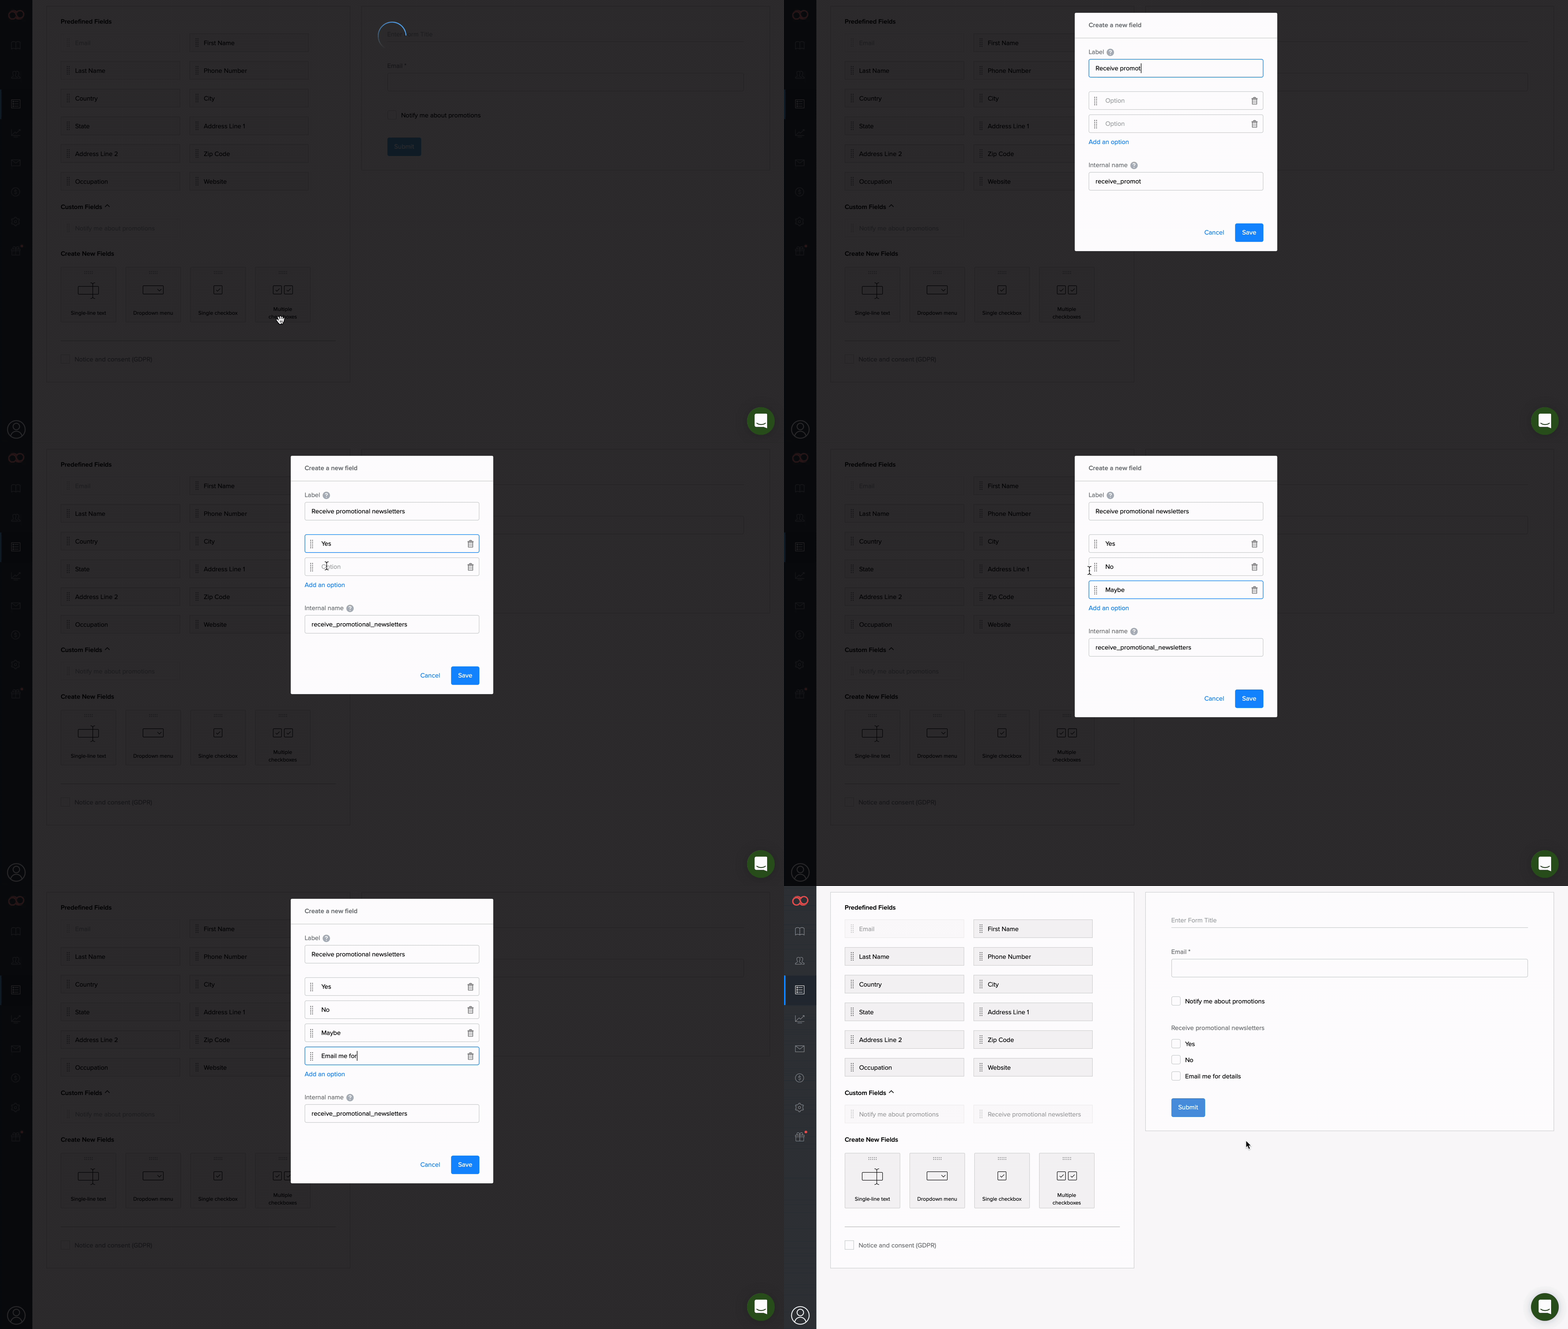
Creating Multiple Checkboxes
-
Click the Multiple Checkboxes option
-
Enter the name of your checkbox in the Label field
-
Write at least two options that your readers will check. Note that multiple choice option will work as well
-
You can add new options by clicking Add an option button
-
Click bin 🗑 icon to remove a field
-
Click Save button to create Multiple Checkboxes
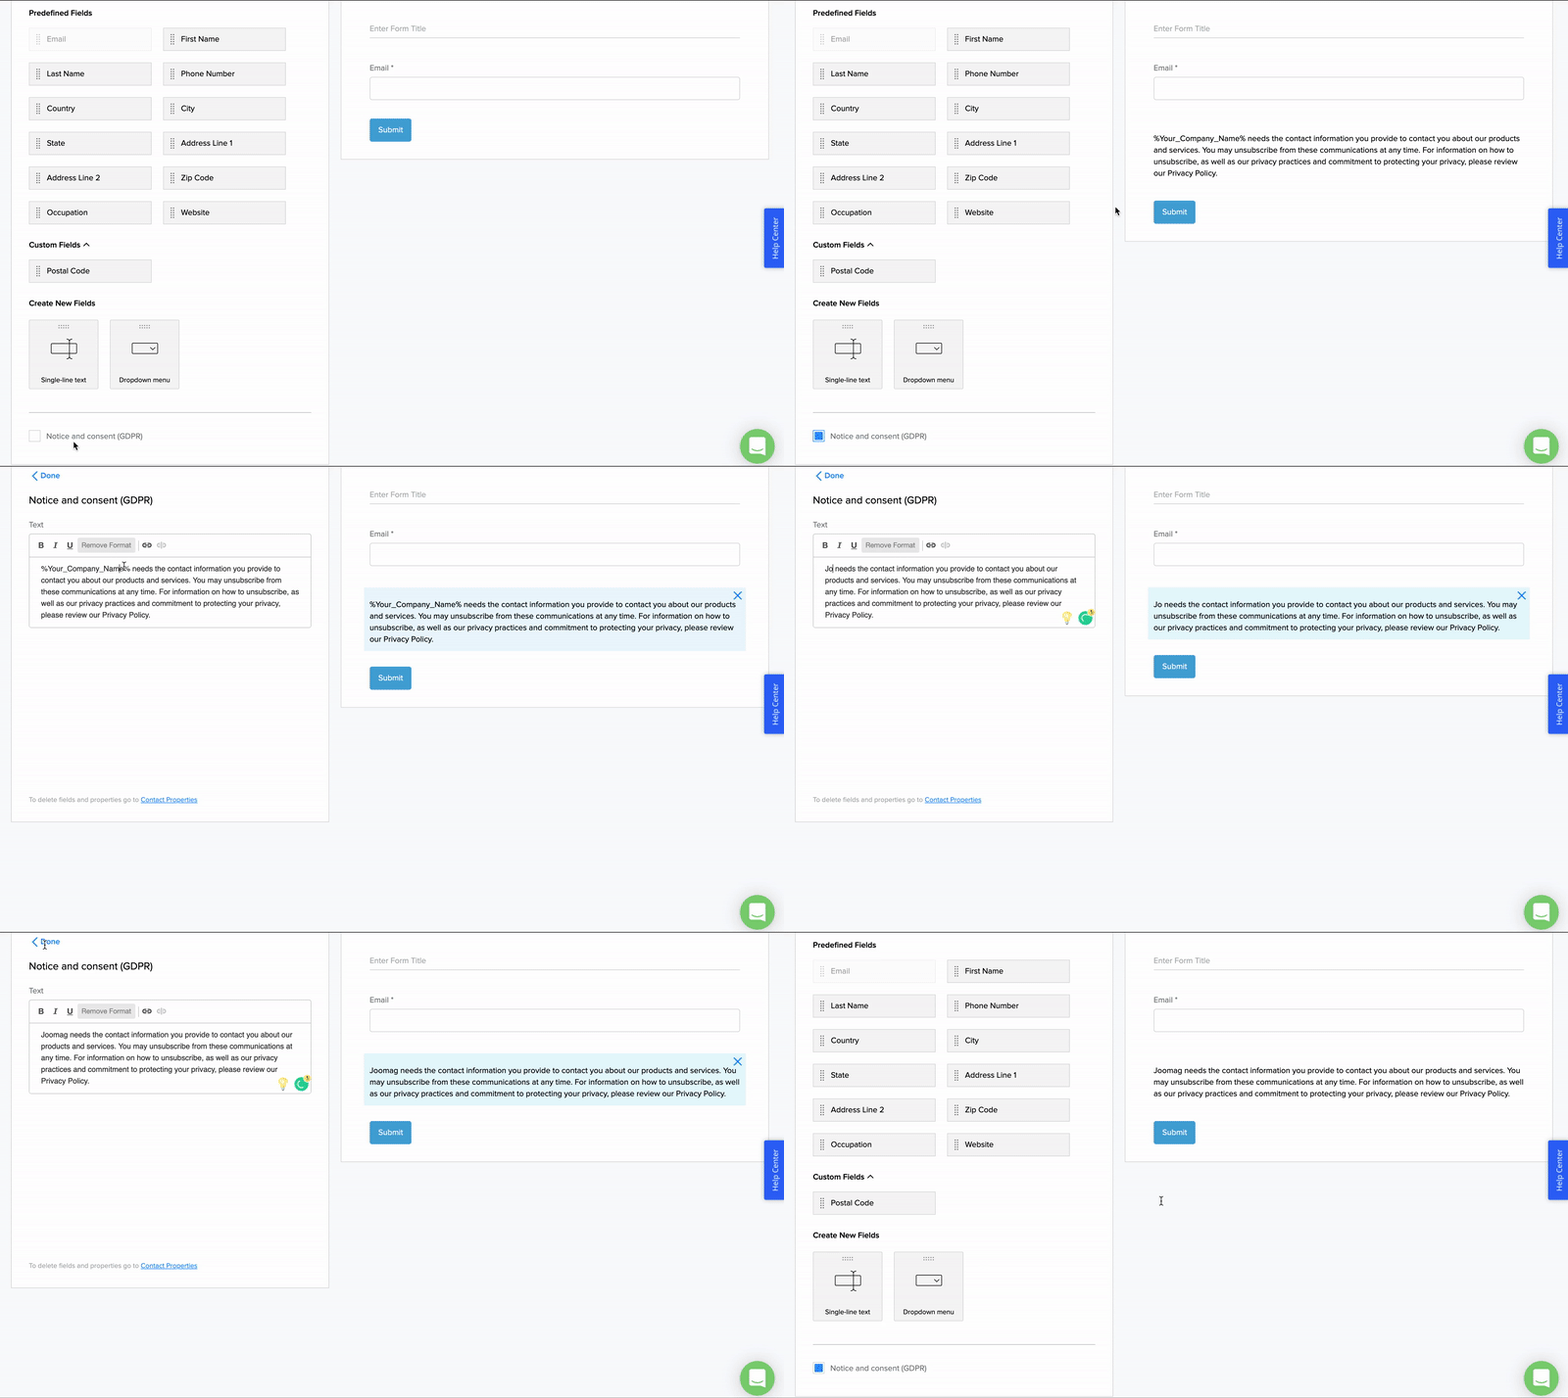
5. Select the checkbox if you want your readers to notice and consent to GDPR.

Once you check the GDPR box, click on the text in the Working Area to open it in the editing mode, and then insert your company name since it won't be derived automatically. You can edit the rest of the text if needed.
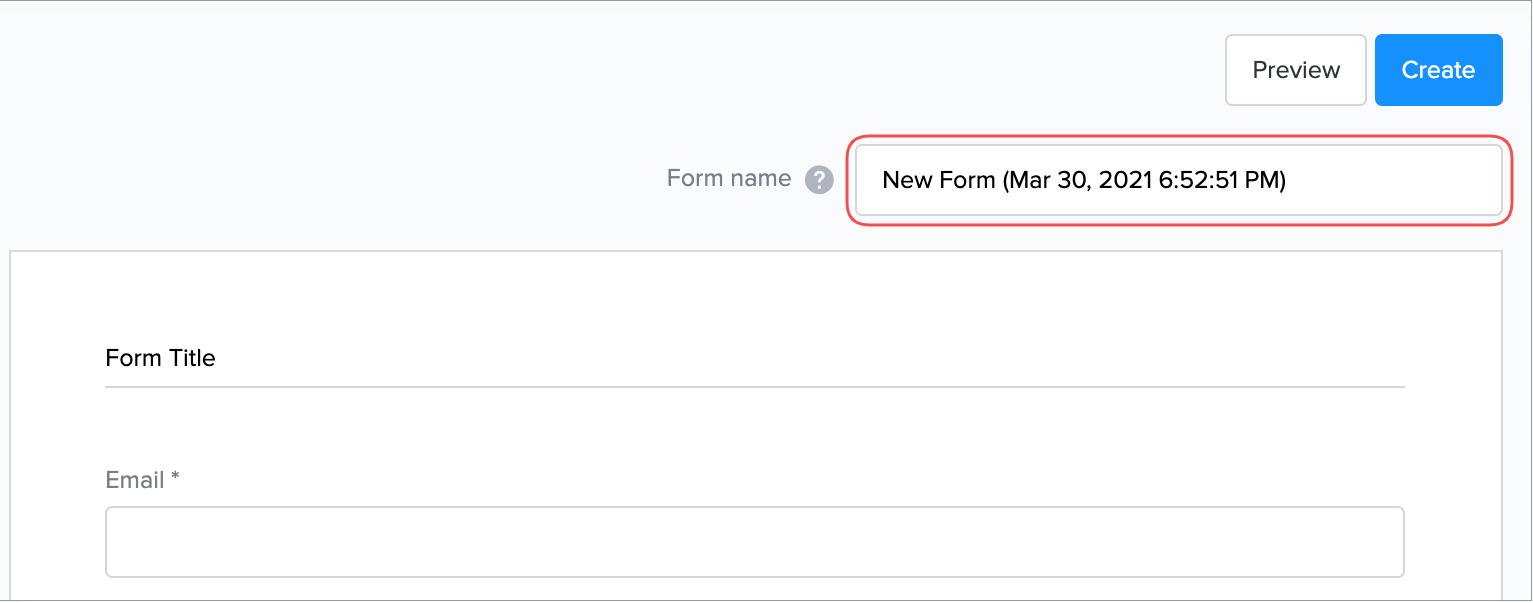
6. Change the Form name if necessary.
Tip: The Form name is visible only to you so make sure to use something recognizable.
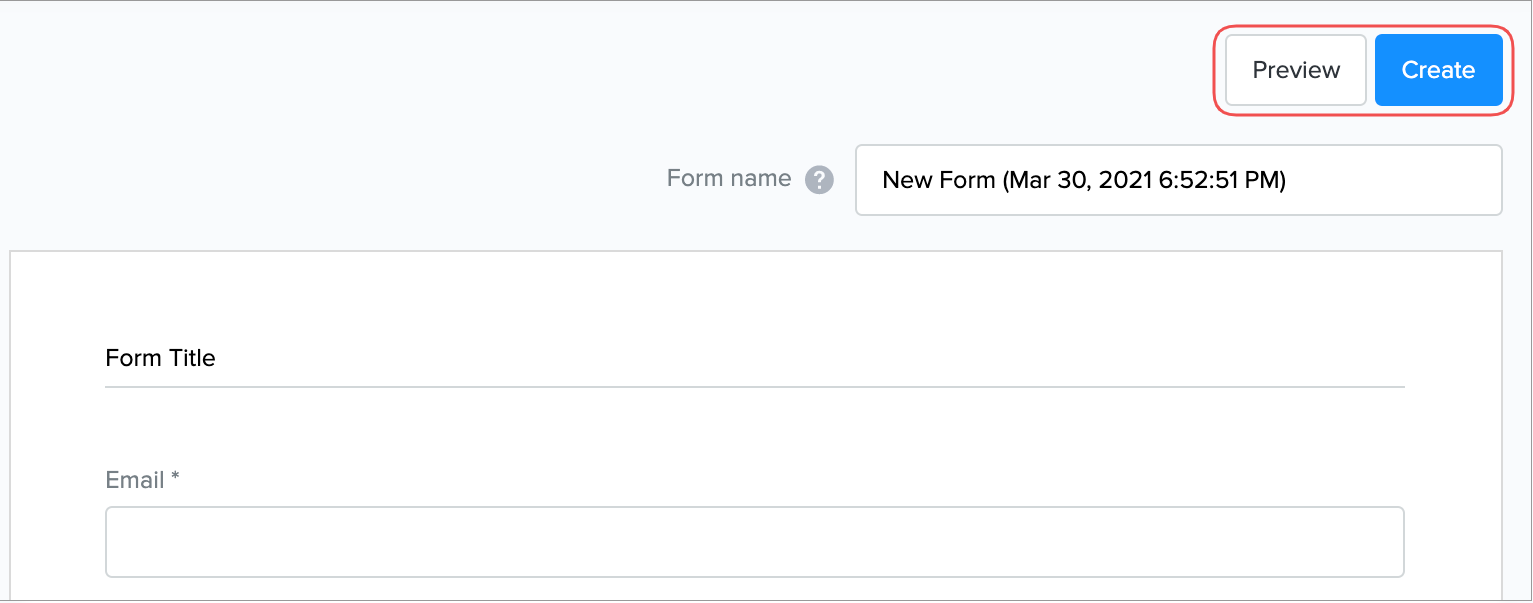
That's it! Edit the fields if necessary, Preview, and click Create once you're done!
Important: Do not forget to connect your form to a contact list to make sure that all the filled information appears in the CRM.
Note: If you want your readers to automatically receive an email once they submit your form make sure to follow the steps in this article.
