If you wish to start a standard campaign, follow these steps:
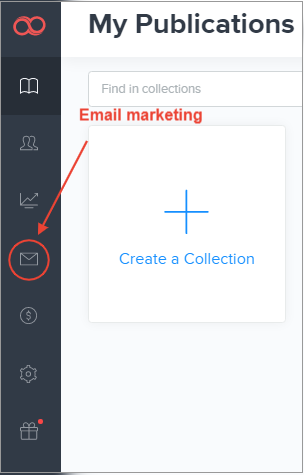
1. Click the Email Marketing button on the left sidebar.
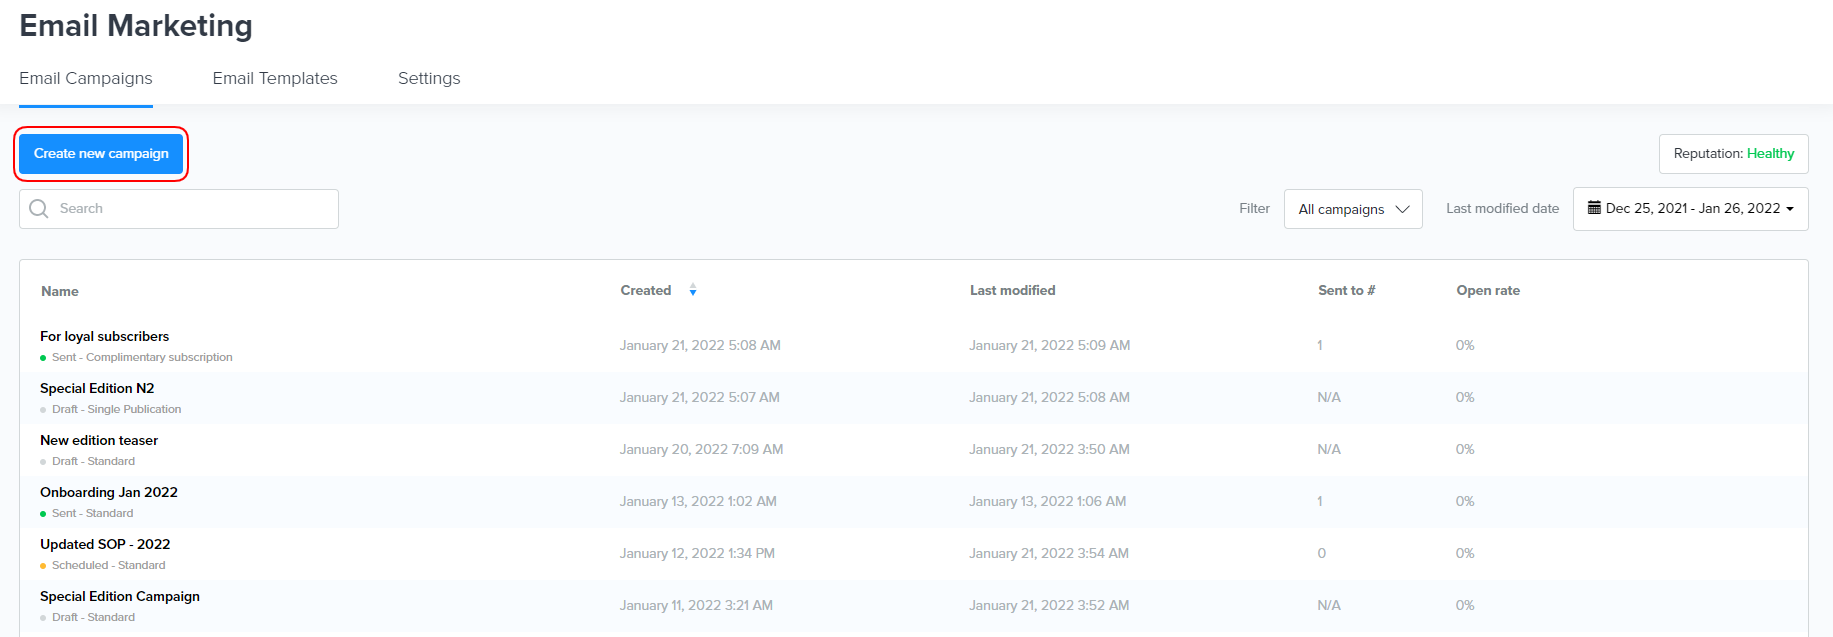
2. Click the New Campaign button.
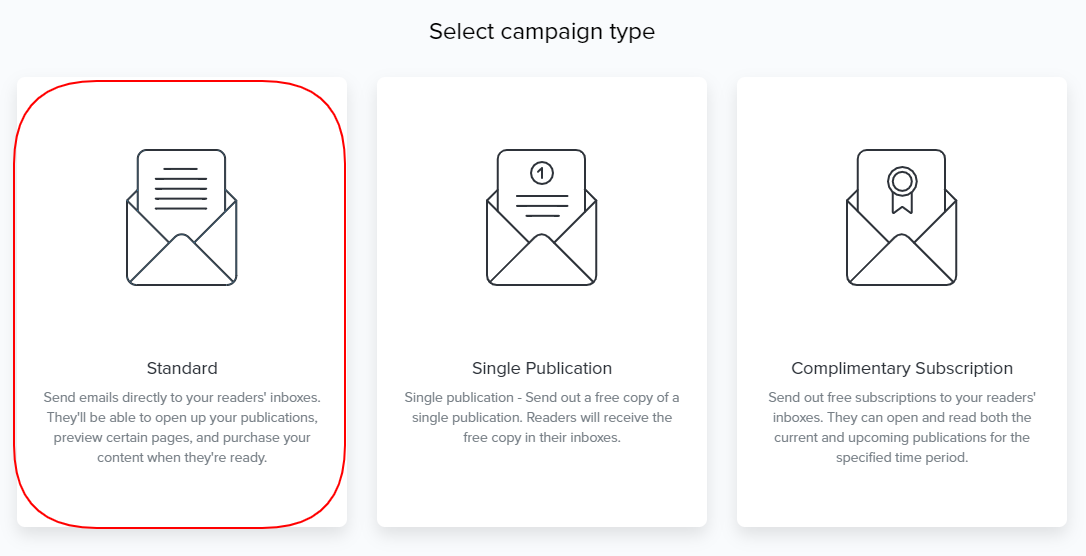
3. Click the Standard Campaign button.
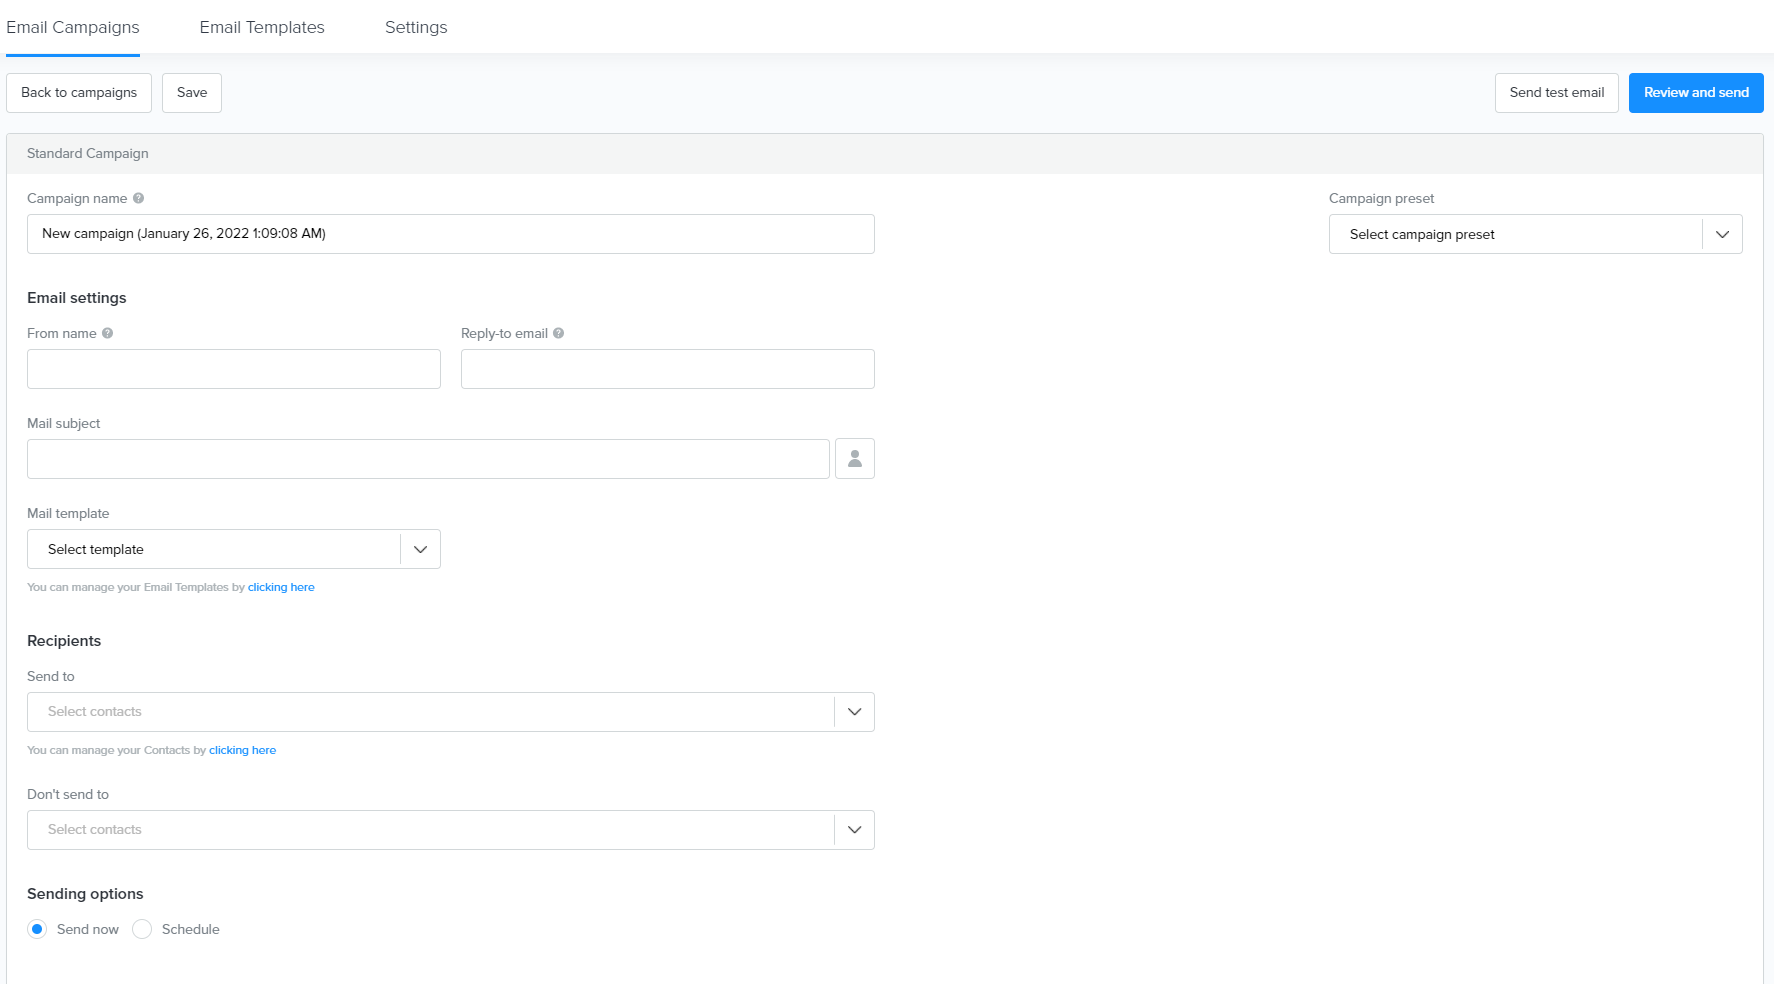
4. Enter all the required information.
-
Campaign name: internal name of your campaign that will not be visible to your recipients;
Note: It is important to specify the campaign name to easily track the statistics and distinguish your campaigns.
-
From name: the name or title that will be recognizable by your recipients when they receive emails from you in their inboxes. For example, you can specify your company name;
-
Reply-to-email: the email address that replies from your recipients go to;
-
Mail subject: the title you specify here should tell the recipient what the email is about. It will be displayed next to the From name;

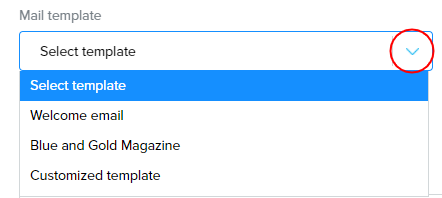
Note: Learn more about creating standard campaign templates here.
-
Recipients
Send to: Here, you can select both the list of contacts and separate contacts you wish to send the campaign to.
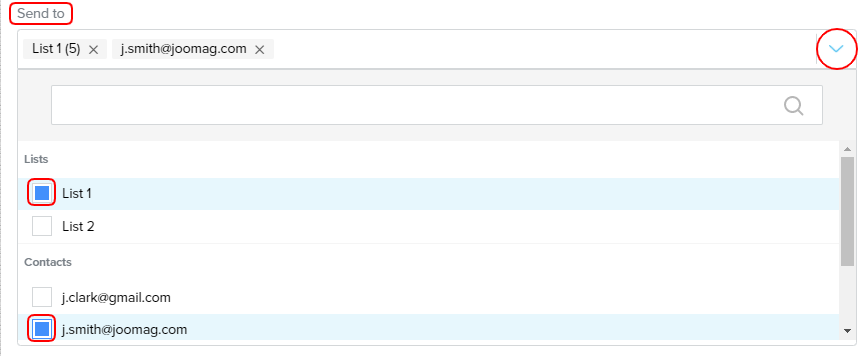
Note: Learn more about creating a contact list.
Don't send to: Here, you can select both the list of contacts and separate contacts you wish not to send the campaign to.
5. When you’re done choose one of the following options:
-
Schedule - Allows you to choose the date and time for your email campaign to be sent out to your readers.
When done, click Review and schedule button
You will then see the Campaign summary and will be able to schedule the campaign by clicking Schedule the campaign button
-
Send now - Allows instant campaign sending.


After, click Review and send button

Then Start Campaign

8. And finally, you will need to confirm the campaign by clicking Start the campaign button in the pop-up window
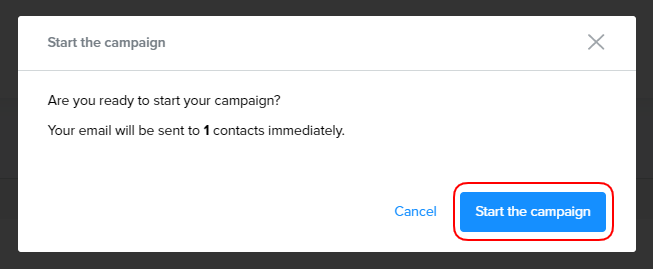
Now you're redirected to the processing page. It will take about 10 seconds to deliver all the messages.
Congrats, now you are ready to send campaigns!
