- Help Center
- Distribute
- URL Customization
Connect a WordPress domain to Joomag
Important: You should already have an active domain with WordPress.
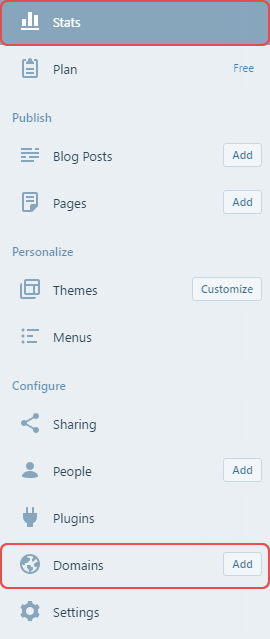
1. Go to Stats > Domains.
![](https://help.joomag.com/hubfs/Knowledge%20Base%20Import/joomag.intercom-attachments-7.comio405099451bbbc5564d6930c96e306400bstats-20-nZM-1.png)
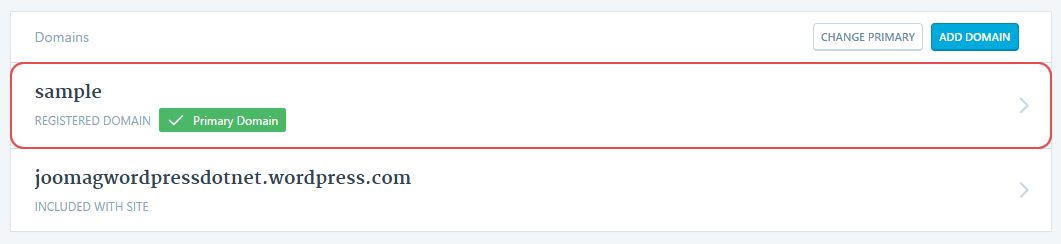
2. Click the domain you wish to connect to Joomag.
![](https://help.joomag.com/hubfs/Knowledge%20Base%20Import/joomag.intercom-attachments-1.comio4050994553f13c64e0eb5be52fe9fe5easample-20--20wordpress-Luw-1.png)
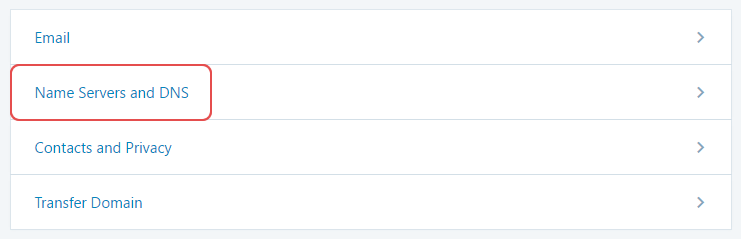
3. Click Name Servers and DNS.
![](https://help.joomag.com/hubfs/Knowledge%20Base%20Import/joomag.intercom-attachments-1.comio405099457538bce2cf5ea6d77bbf47bdaname-20servers-20and-20dns-Zig-1.png)
4. Click DNS Records.
![](https://help.joomag.com/hubfs/Knowledge%20Base%20Import/joomag.intercom-attachments-1.comio405099458448b77aa41817843e0917518dns-20records-1.png)
5. Click the Add New DNS Record button and enter the Joomag's IP address. After finishing, click the Add New DNS Record
![](https://help.joomag.com/hubfs/Knowledge%20Base%20Import/joomag.intercom-attachments-1.comio405099460b78dc2dc8ebeeefa09c439bcadd-20new-20dns-20record-k0M-XJk-1.png)
button.
You should now have A record pointing to the following IP address 209.95.50.44
Now you can connect your domain to your Joomag account.